Honey guide and honey badgers are one of the most famous symbiotic pairs in nature. Next week we’ll learn how to draw a honey-badger, but first let’s draw his friend, Honeyguide!
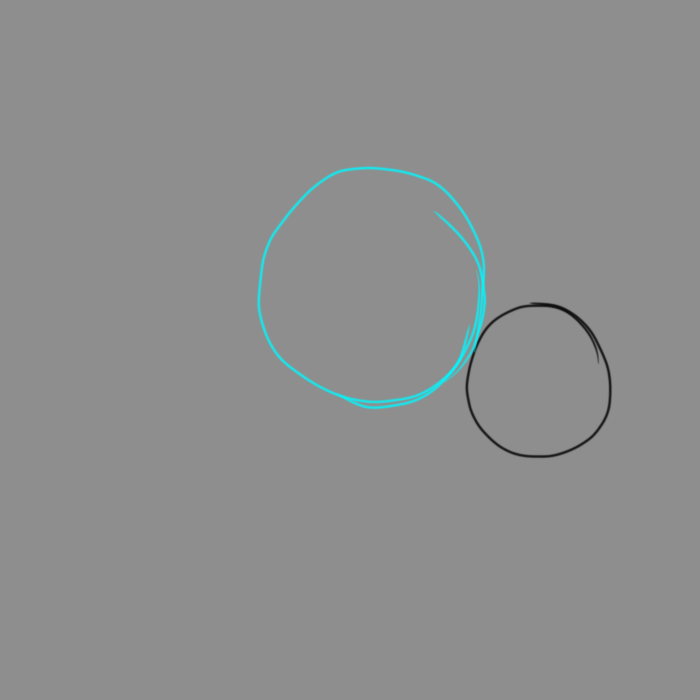
Step 1:
Draw a circle. Make sure you know the diameter, we’ll call that 1 unit.

Step 2:
Touching the first circle draw another circle 1 1/2 units long.
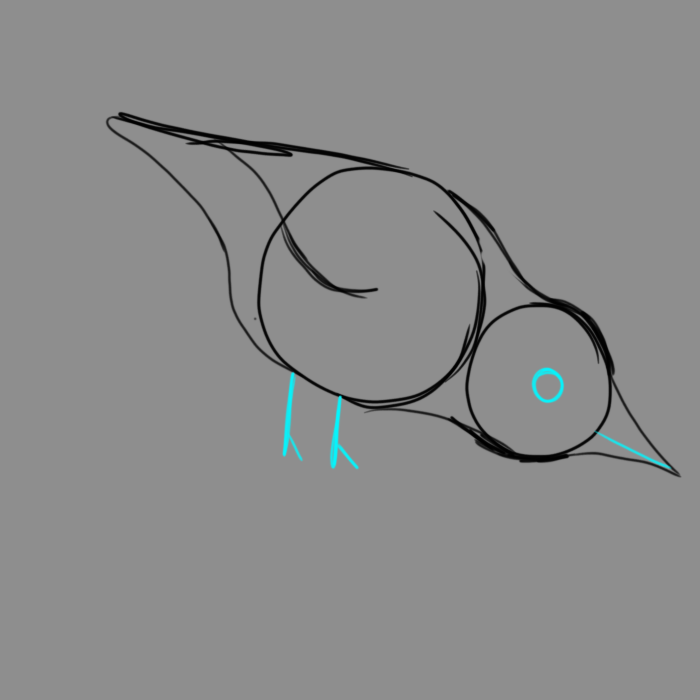
Step 3:
Make a line 1 1/2 units long. This is the tail.

Step 4:
Draw a curve from the tip of the tail to the body. Halfway down the tail draw a parallel curve, which is the wing. Connect the head to the body. Create a triangular beak 3/4 units long.

Step 5:
Draw a line down the center of the beak. Draw a 1/5 unit diameter circle for the eye. Draw two upside down y shapes 1/2 units long for the feet.
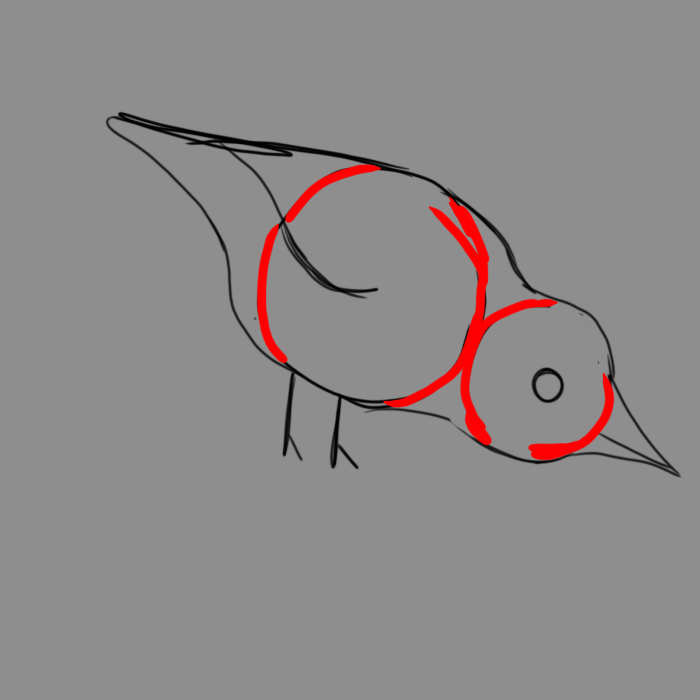
Step 6:
Erase the two original circles.
Step 7:
Color the eye black, and everything else brown. Create a dark brown spot around the eye and on the beak, connecting the two.

Step 8:
Add a white spot to the eye to give a little life to the drawing, and shade the rest of the bird using yellow for the highlights.
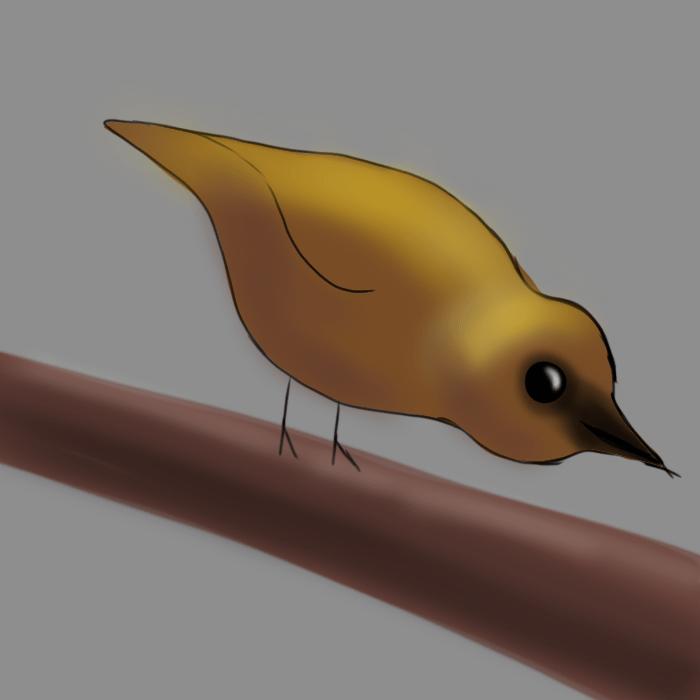
So that’s how you draw a honey-guide!
The honey-guide sits next to the honey-badger on the H page of the book. He’s so interested in the bee hive in-front of him he doesn’t see the letter on the page. I always thought the relationship between the honey-guide and the honey-badger was a cute one, so it was fun to draw them together on this page.

One thought on “How to draw a honey-guide”