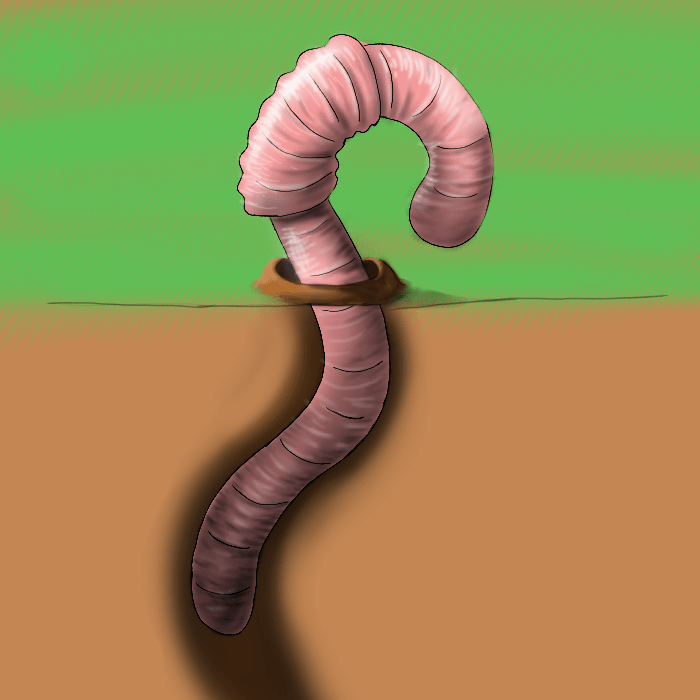
The earthworm seems like a fairly simple creature to draw, and in a sense it is. However to draw a detailed earthworm like shown above, is both easier and harder than it looks. Let’s get our drawing things and begin!
Step 1:
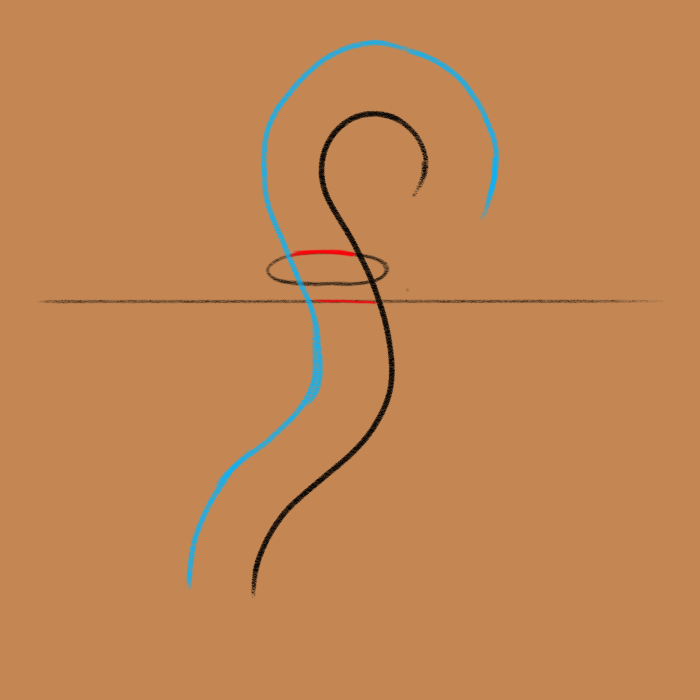
Unlike most animals, we do not begin with a circle, because the earthworm has no joints. To begin the earthworm, draw a straight line to represent the soil line.
Next, roughly perpendicular to the soil line, draw a curvy line. The curved line should be less sharply curved below the soil than above.
Lastly we’ll draw the entrance to the burrow. Draw an oval so that the right end is close to the curved line, and a little wider than you want the worm to be.

Step 2:
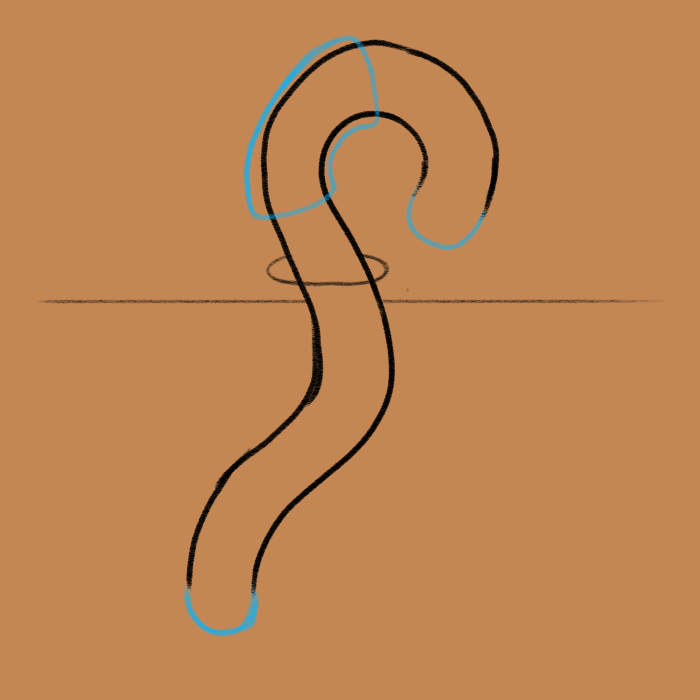
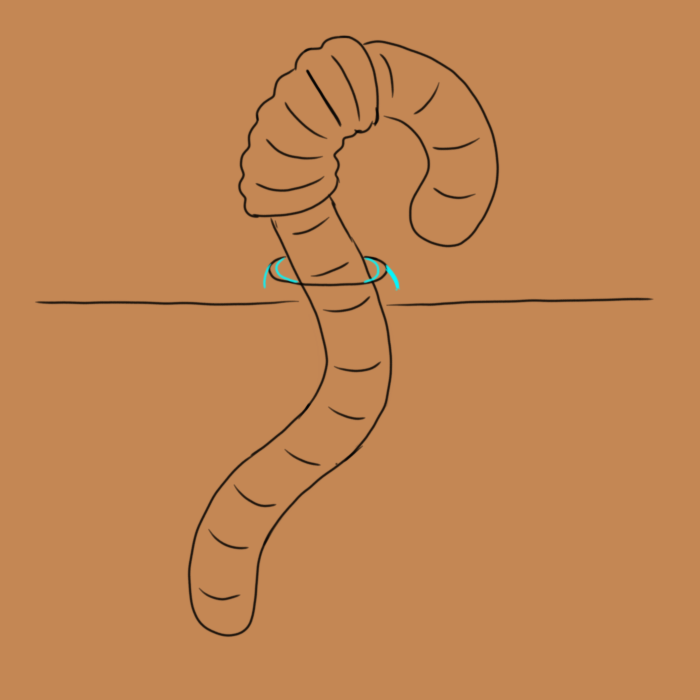
Starting just a little bit in from the left side of the burrow entrance, draw a curved line up and down parallel to the other curve. Make sure you stay the same distance from the first curve the whole way.
Then erase the back of the burrow and the ground marker inside the worm. (See the red lines)
Step 3:
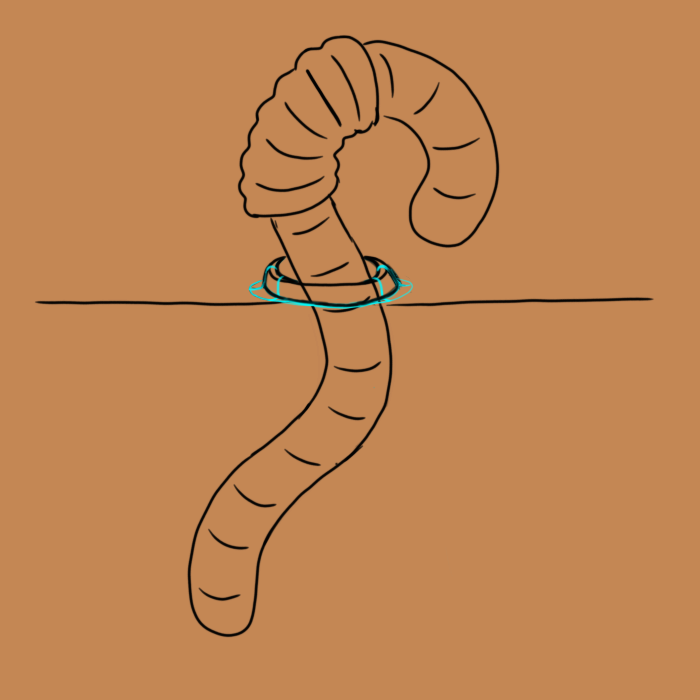
Connect the ends of the worm with half circles. Where the worm begins to bend towards the ground, draw a curved box with rounded corners along the body, just slightly wider than it. This is a ring of fatty, mucus-producing cells called the clitellum. The exact number of segments (ridges) between this and the head is often used to identify species, but we’re only going to suggest segments rather than draw each individually so it doesn’t matter exactly where along the worm it is.
Step 4:
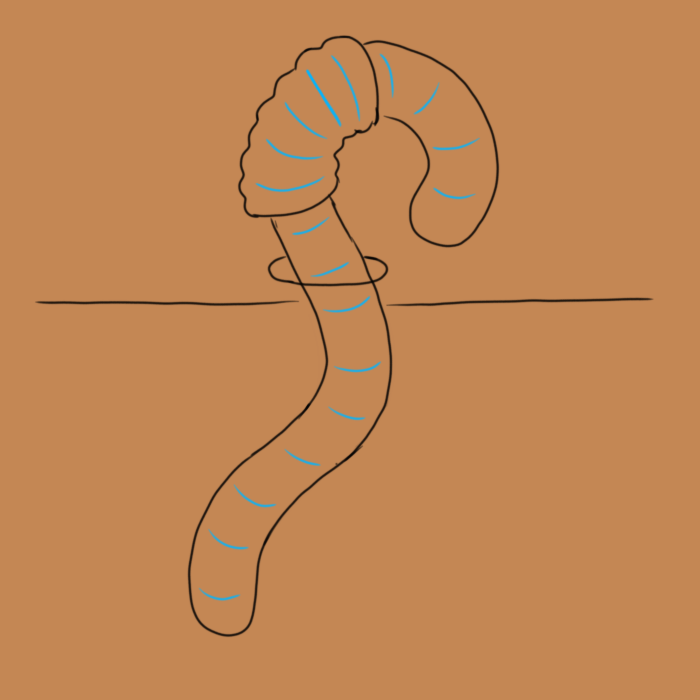
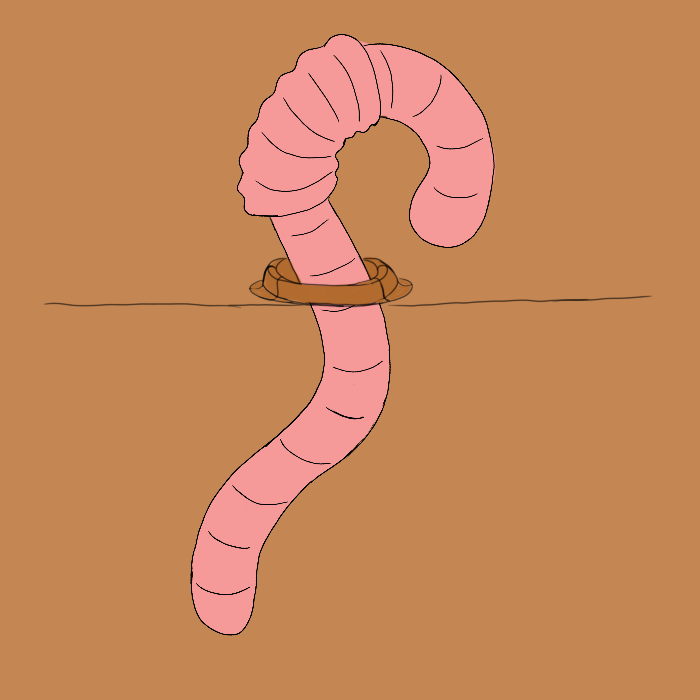
Erase the lines inside the clitellum, and make the edges a bit wrinkled.

Step 5:
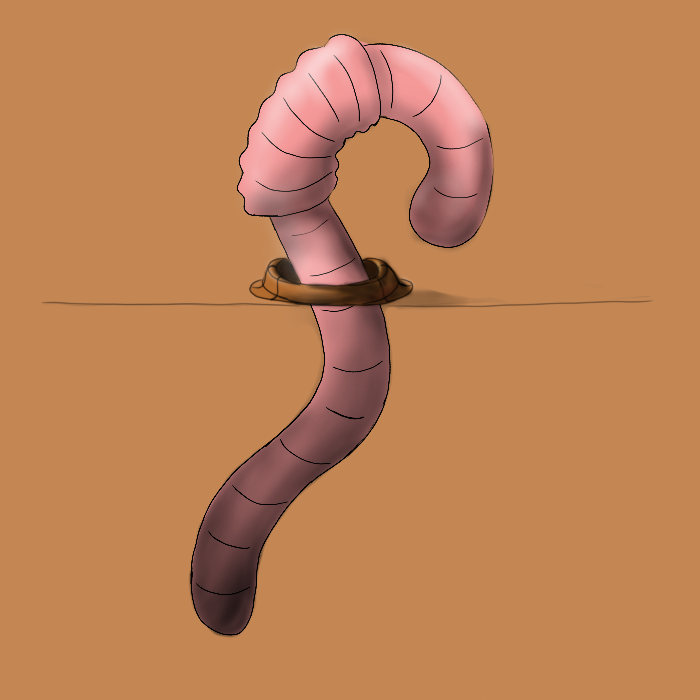
Now to suggest the segments. In front of the clitellum draw lines perpendicular to the worm’s body and curving towards the head in the center at regular intervals. Inside the clitellum draw one line curved towards the front at the front, one straight line behind it, and then three lines curved towards the back. Behind the citellum draw lines curved towards the rear of the worm.
Step 6:
On the inside of the burrow draw two curves on either end, or a thinner oval. Draw two lines down on either end of the oval, not quite to the ground.
Step 7:
Draw a curve parallel to the original burrow circle connecting the two lines. It’s lowest point should be along the ground line.

Step 8:
Draw a wider oval around the bottom, then use s shapes to show how the ridge of dirt is shaped.
Step 9:
Color the worm and ridge.
Step 10:
Add basic shading. Use the contour lines on the burrow to inform how you shade it. Do not lighten anything below ground, but use plenty of highlights on top.
Step 11:
Erase the contour lines on the burrow’s ridge. Now, to add further shading and the illusion of segments we’ll lighten and darken using lines that are parallel to the segment lines. Be sure to also add highlights and shadows along these preexisting segment lines as well. In the most highlighted areas we’ll add a highlight of pure white going down the worms body by making segment parallel lines of varying lengths close enough to fill the highlight. The same should be done with black for any deep shadows, to a lesser extent. We are essentially using modified cross hatching at this point. Finally add the grass.

So that’s how you draw an earthworm!
I did not draw the animals in alphabetical order when I wrote the book, so the earthworm was actually the third animal drawn. It was fortunate that many of the challenges to making the book arose when I was drawing this fairly simple creature so that I could learn from my mistakes when I did the harder animals. It was the first textured skin creature as well as the first shiny (as in waxy, slimy, or wet) creature. It is also a very similar color to the dirt. As a result of these things I had to be very careful about my colors, because if the printer shifted the colors too much the texture, shininess, or even the entire animal would disappear into the things behind it. It was a lot of trial and error. Another challenge was deciding what pose to put it in. I went through several poses as well before I decided on the one that I thought matched the poem best. I decided to go half above half below ground for the pose because it would allow part of the worm to stand out against the grass while still showing it’s burrowing habits. My mom always chuckles when she reads this page in the book, she says the poem gave her a new appreciation for earthworms.
