
When I first heard the name Umbrella Bird I expected a strange bird, but this birds shape still managed to be unexpected. It’s strange feathers caught my eye, and I knew it had to be in the book. It may not be colorful, but it’s a lot of fun to draw. Without further Ado, here’s how to draw an Umbrella Bird!
Step 1:
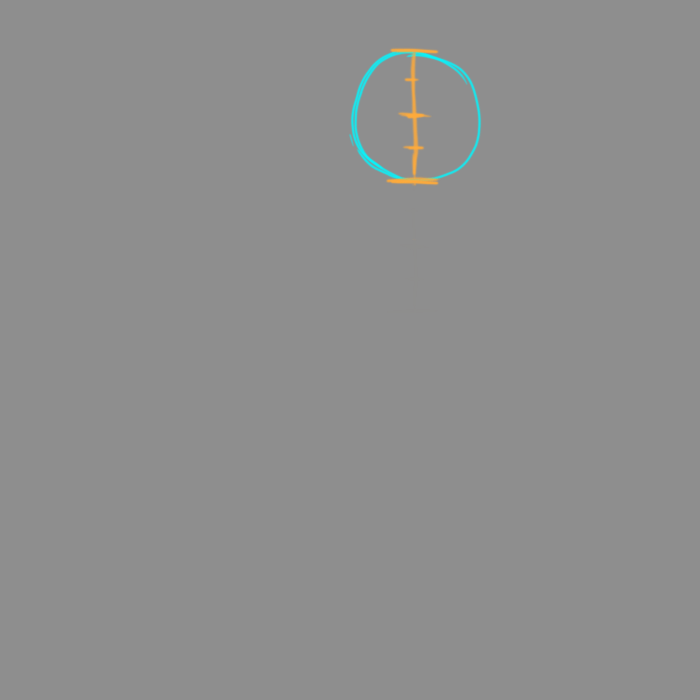
Draw a circle. Make sure you know the length of the diameter, we will call that 1 unit. We will use it for measurements of proportions in the next steps.
Step 2:
Draw a 1 & 3/4 unit diameter circle, positioned so that the closest edges of it and the first circle are 1/4th of a unit away from each other.

Step 3:
2 & 1/2 units down from the body (and slightly behind, it should be at the same angle from the body that the body is from the head), draw a horizontal curve that is 3/4ths of a unit long, and bends down in the middle.

Step 4:
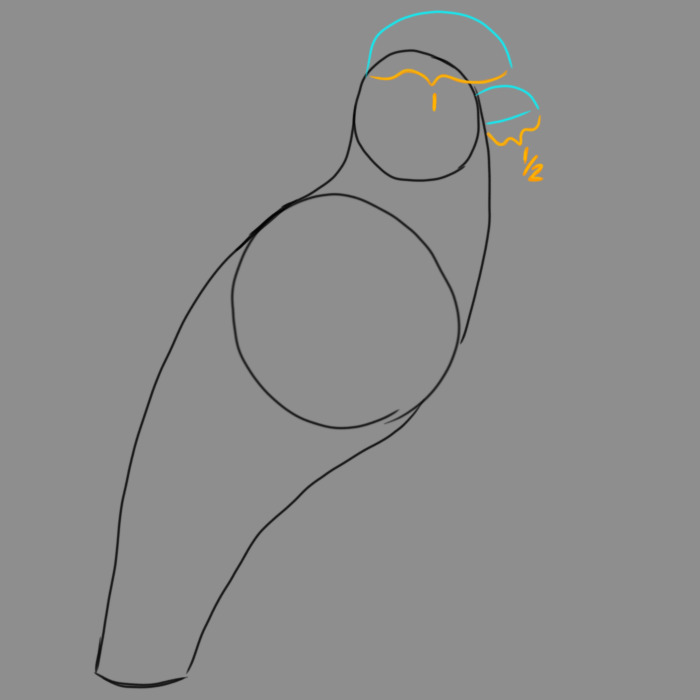
Connect the head, body, and tail.

Step 5:
From the upper back of the head, draw a half circle that’s 1 unit wide. Halfway down the front of the face, draw a line straight out that is 1/2 a unit long. Just past the end of that line, draw a quarter circle connected to the head. It should not go between the half circle on top of the head and the head at any point.
Step 6:
Use an s shape to connect the half circle crest to the head, and another to connect the line to the head and make the lower beak. Draw a curve from the end of the quarter circle to where the line beneath it meets the head. The beak should have a sharp look to it.

Step 7:
Along the line directly below the body, draw an S shape that is 1 unit long. About 1/4th of a unit back, draw a shallow curve 1 & 3/4ths of a unit down.

Step 8:
For the front leg, make a small circle above the end of the S, then connect the end of the S to it as if continuing a spiral. Draw a curve connecting the toes to a point partway down the rear leg. For the rear leg, draw a wide and flattened s shape sideways and a little bit behind the bottom of the line. Connect the ends of the s to the line and the body with curves.

Step 9:
To make toes for the front leg, draw a sideways W with the first V straddling where the line that touches the circle in the center of the foot touches the outer edge, curving the lower edge to connect to the rest of the foot. For the other foot, we need to draw the perch first. Draw a horizontal line at the height of the indent between the toes. Then draw a diagonal line behind the foot.

Step 10:
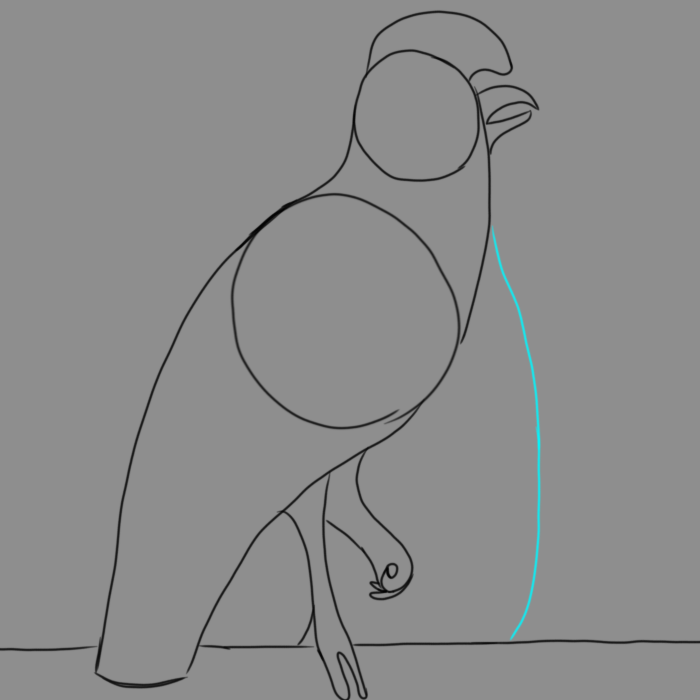
Draw a curve from halfway between the head and body, to the perch.
Step 11:
Connect the curve to the body with a squiggly line. In the head, draw two concentric circles to make the eye.

Step 12:
Erase the extra lines.

Step 13:
Color the inside of the eye black, and everything else grey.

Step 14:
Shade by darkening the shadows. Leave the ring around the eye unshaded, and lighten a highlight in the eye. Only lighten sparingly if at all on the rest of the body.

So that’s how you draw an Umbrella Bird!
Merry Christmas everyone! Did anyone get the book as a gift for someone this Christmas? If so I’d love to hear your stories in the comments! It’s always fun to hear about kids’ reactions to the book. Whatever you did this Christmas, I hope it was a good one!

huh
LikeLike